It was good over a recent weekend to have the opportunity to set up a Startline scenario and play the game through, first solo, then with a live opponent in the shape of my long-time friend and wargaming opponent Paul. I only have the one WW2 collection, so as usual this fictional engagement was set during the 1939 Polish campaign.
To create a suitable scenario, I turned to a resource I have been using for a few months now, the latest list of Flames of War missions. These are available for free download online (you can also get a printer-friendly version without the fancy background). Thanks to FoW for making this available. The scenarios suit Startline very well, as my rules are set at exactly the same company level as FoW, and the basing is pretty much identical as well.
As you will see if you check the link, the scenarios don't give specific terrain, but do give everything else you need - type of scenario (i.e. attack-defence, encounter), the details of deployment, victory conditions, and any special rules needed. So it's easy to replay any scenario several times by just changing the terrain, the period, or the forces used. Each scenario uses equal points forces on both sides - attack-defence set-ups work by having only around half the defenders on table to start with and the rest arriving as reserves. This gives the attackers a decent chance to win. Many of the scenario deployments are quite unusual and original, and give an excellent alternative to just setting up on opposite sides of the table.
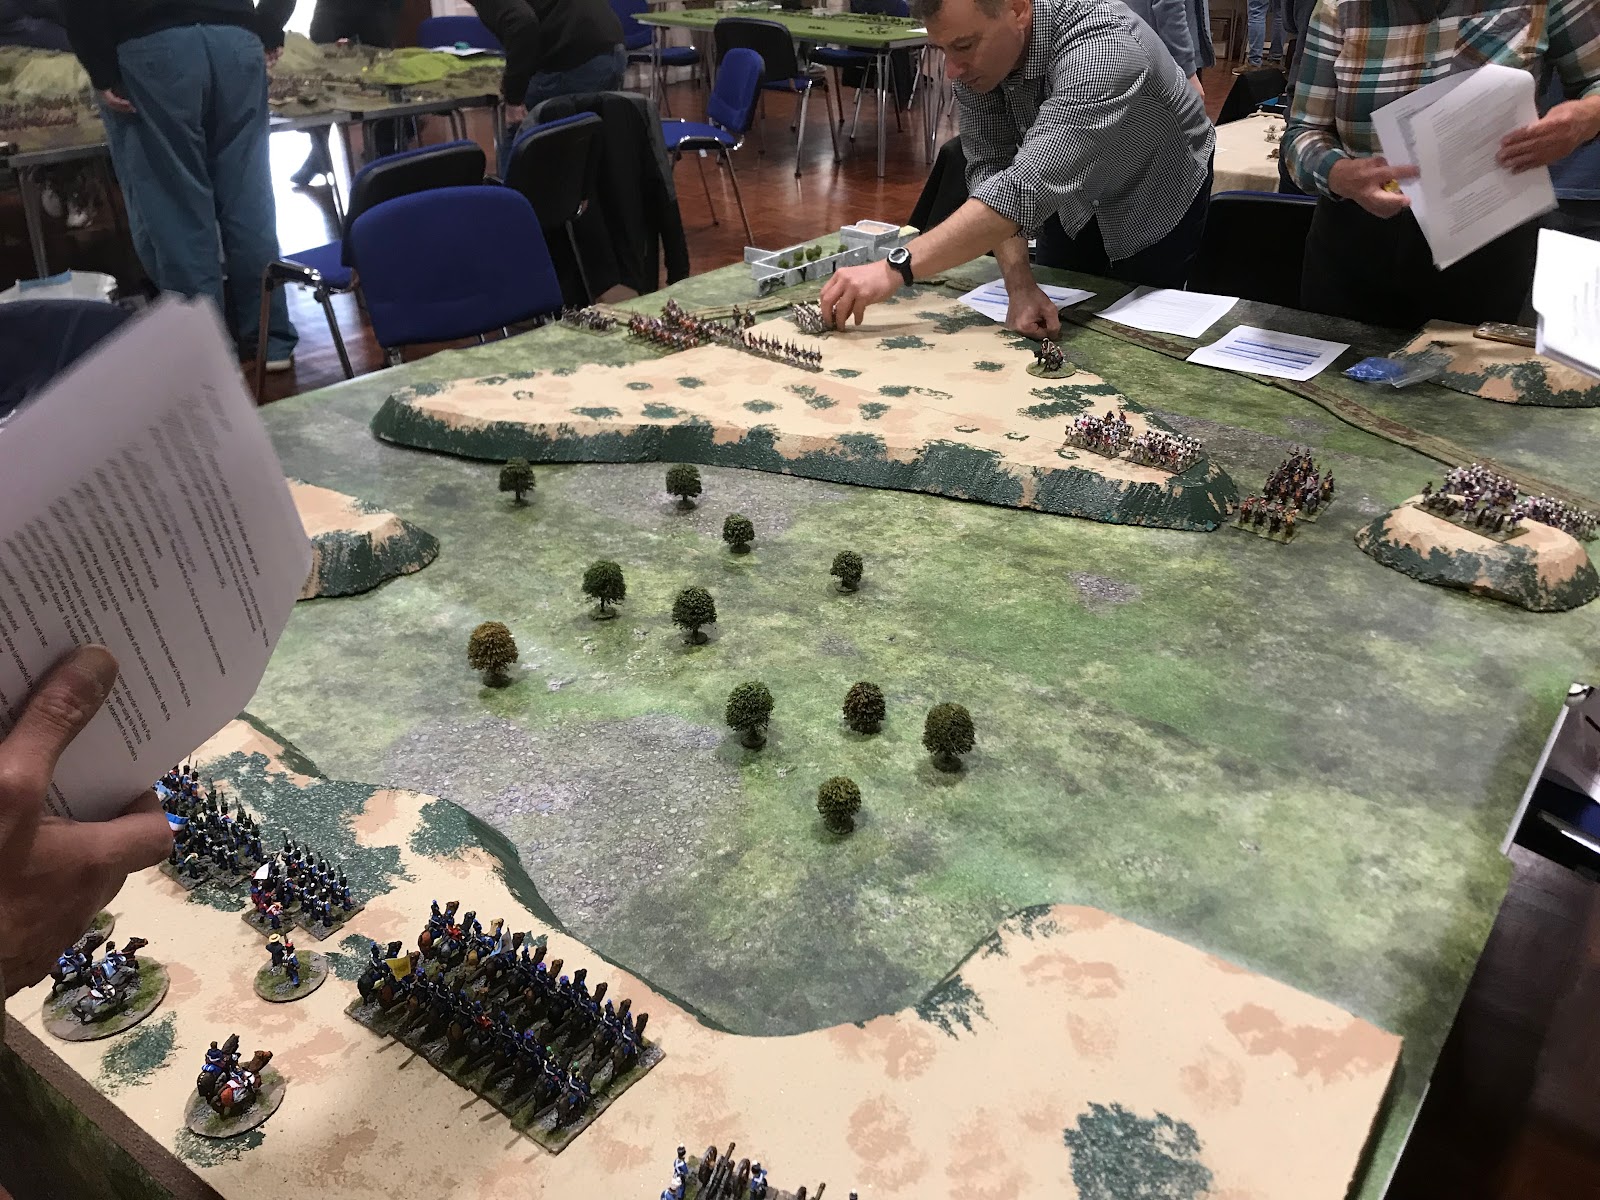
One such is 'Hold the Pocket', which was the scenario I chose to play. You can check the details of this scenario on the download, but essentially the attacker deploys down each short table edge, whilst the defender holds a box centred on one of the long table edges. The defender is thus being attacked from both sides. The photos below show the terrain and forces for the second game, with the deployment areas outlined with green dice.


As you can see, the terrain was flat, with a settlement and crossroads within the defender's box, or 'pocket'. On one flank, a stream ran between the pocket and the attacker's deployment area. This was crossable, but a bridge was also available. I chose the simplest possible victory conditions - one objective marker was placed on the crossroads, and the attacker had to claim this to win. If he did so in 6 moves, that was that. If not, an extra two moves were allowed. If the defender still retained the objective, the defender had won.
Naturally the Germans were attacking. The forces were:
German
Battlegroup HQ.
Panzer company with CO:
Medium platoon: 2 x PzIV, 2 x PzII. Medium platoon: 2 x PzIII, 3 x PzII. Light platoon: 1 x PzII, 4 PzI.
Infantry company with CO:
3 x infantry platoons. One platoon is motorised with a Pak 36 attached.
AA section: 2 x 2cm Flak 30.
Off-table artillery: 2 x 10.5cm batteries, each 4 guns.
AFO, and an airborne AOP (Hs-126) also available.
Polish - on table
Force HQ.
2 x infantry platoons, each with 1 x MMG and 1 x Bofors 37mm attached.
1 x 75mm wz.1897 (attached to one of the infantry platoons).
AA section: 1 x 40mm Bofors, 1 x AAMG.
MFO.
AFO.
6 x 4" square minefields (to be combined as required).
Polish - off table
Recce platoon: 3 x Wz.34 armoured cars
Tank platoon: 3 x Renault FT-17.
Off-table mortar section: 2 x 8cm mortars.
Off-table artillery: 2 x 75mm wz.1897 batteries, each 4 guns.
I had decided to keep the Poles as a basically infantry force. To make up the points against all those German tanks, the minefields were just the thing. As the Polish commander, I marked their location on a map, leaving Paul to guess their location until one of his elements entered and had to roll for destruction. This makes for a nice bit of gameplay, and is simple to set up. Paul had the advantage of an AOP to spot for his artillery, and the use of a pre-game barrage, which also added a bit of extra flavour to the game. I used the normal FoW reserves rules for the entry of the Polish recce and tank platoons.
In the first game, other commitments meant I only had time to play out 4 moves. In the second game, Paul failed to gain the objective in 6 moves. We had to call the game there, but it looked like playing an extra 2 moves would have put victory in his grasp.
So, nothing remains but to show a few photos of the games in progress. I would strongly recommend any WW2 gamer to check out those FoW missions, if you aren't already aware of them. Very useful.
Solo Game:
 |
| The settlement after the pre-game barrage. The Polish AFO copped it, a serious set-back. |
 |
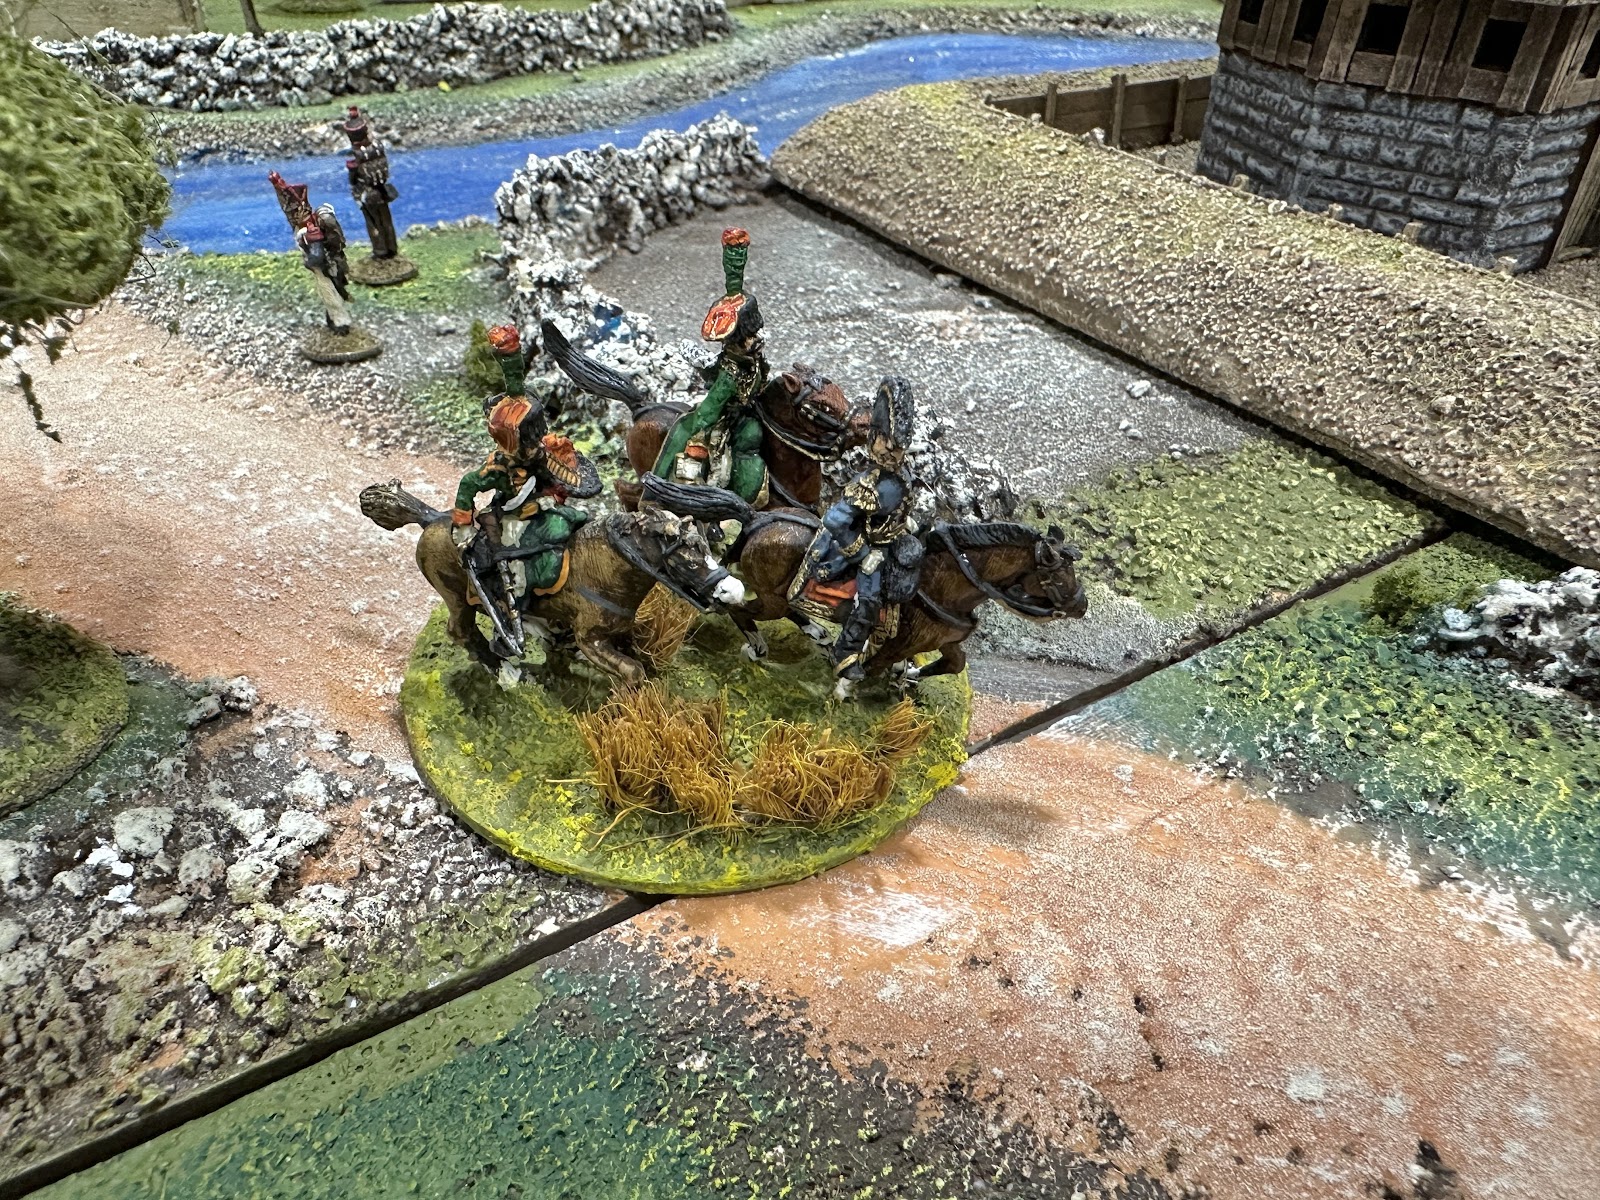
| German motorised infantry cross the bridge. |
 |
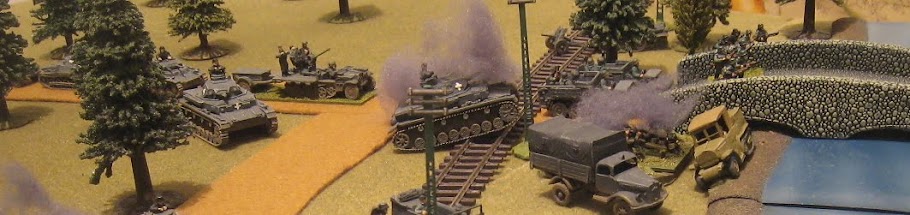
| The brown counters mark a minefield. Note the two Panzer Is overunning a Polish trench. |
 |
| The motorised infantry make progress. |
 |
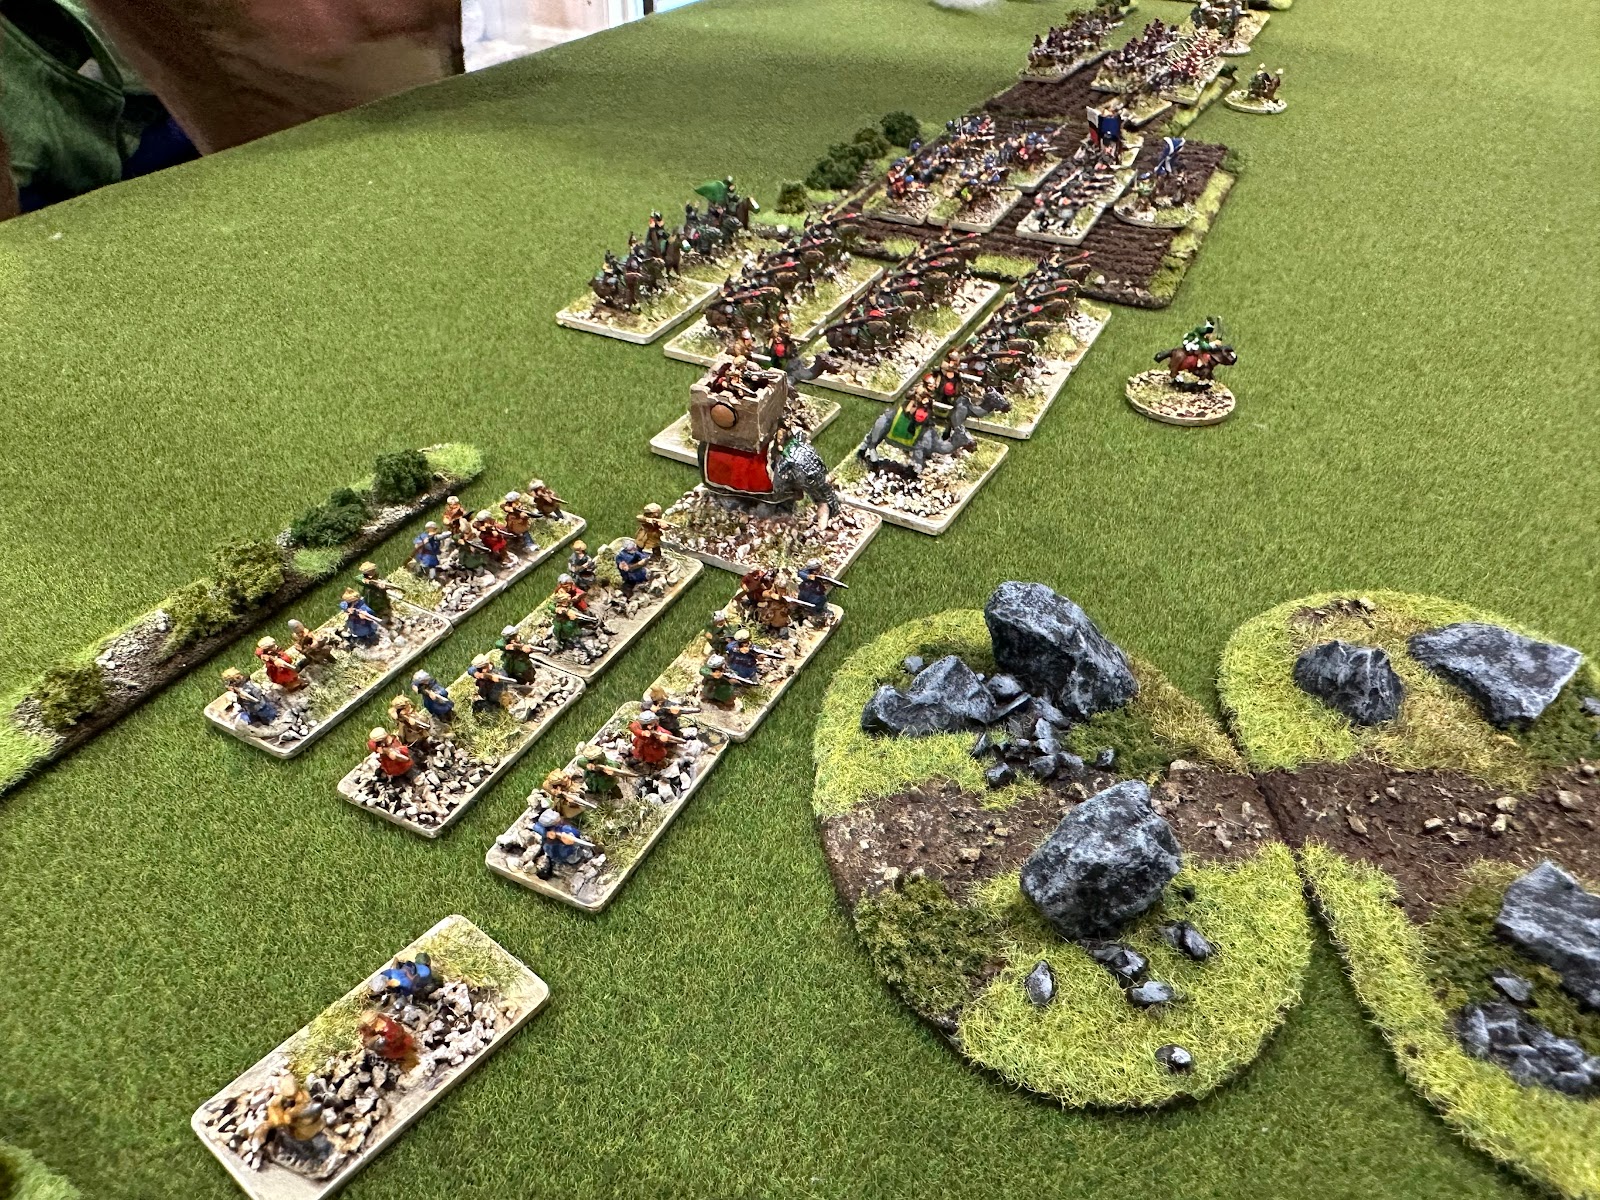
| Heavy pressure on the Polish right flank - but the Poles are fighting back. |
 |
| A punishing airstrike by German Hs-123s. |
 |
| German tanks are at the gates of the village near the Polish baseline. But the red marker shows they have been forced to retreat following the destruction of the acompanying Company Command tank. |
Game with Paul:
 |
| One of the Polish platoons is falling back following artillery and airstrikes. Note the orange marker and the Stuka over the table. |
 |
| The main German attack makes progress... |
 |
| ...but the German diversionary attack is easily halted. The yellow markers show morale is wavering. |
 |
| Close, but not close enough. The village is still in Polish hands (just) after 6 moves |
Movement Rates
One issue I've been dealing with in Startline is movement distances. How to get the game moving faster without making move distances unrealistically large? I've already been using my usual solution - allow for increased moves (and sometime decreased moves) on a die roll related to unit quality, with the presence of company commanders making larger moves more likely. Following these two games, I've also added what I call 'march moves', which add 50% to movement when out of contact with your opponent. Most of you will be familiar with the concept - increased moves as long are you are not too close to the enemy, sometimes called 'reserve moves'. I use this kind of thing in Shadow of the Eagles. In FoW, Battlefront introduced what they call 'dash moves' in version 4 to achieve the same thing. I guess we'll see how things go.
Thanks for visiting. 'Til next time!